This post may contain affiliate links, which means I receive a commission if you choose to purchase through links I provide (at no extra cost to you). As an Amazon Associate I earn from qualifying purchases.
Thank you Tillamook for sponsoring this post. Visit your local Target to buy Tillamook Cheeses today!
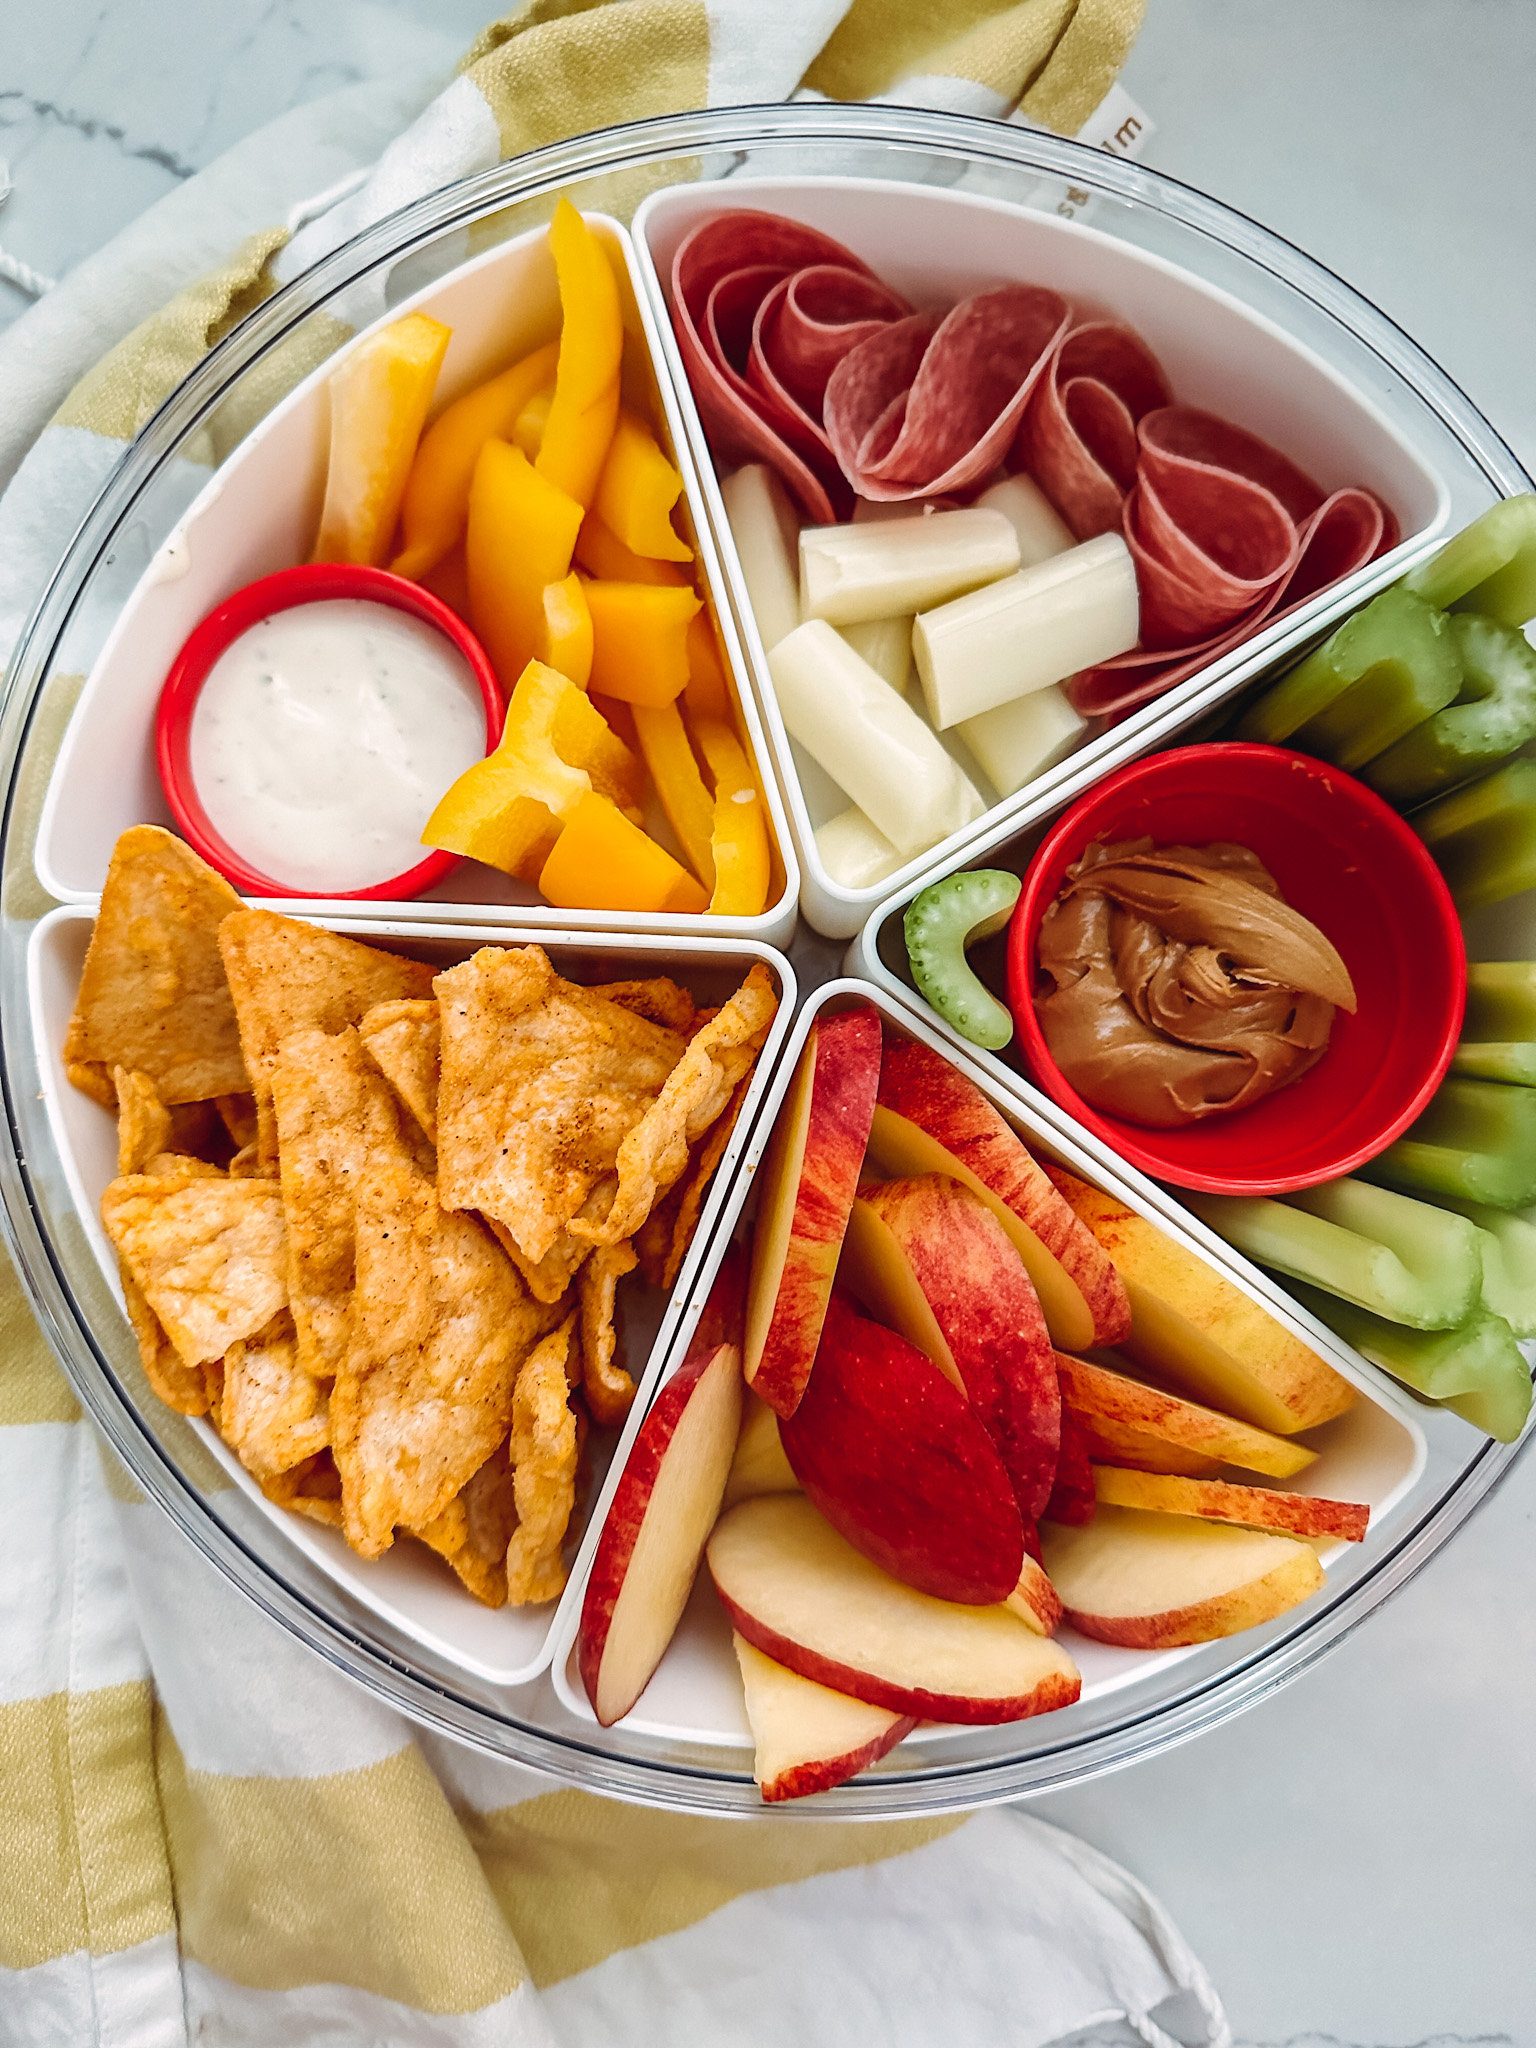
‘Tis the season for allllll the holiday meals. We’re hosting a little Thanksgiving post-Turkey-Trot brunch and I wanted something easy, tasty, quick, and kid-friendly. Enter the 7-minute brunch cheese board!
I’m a big fan of ‘help yourself’ dining, especially for brunch – who has time to wake up early to cook?! This brunch cheese board is great for groups for any and all holiday gatherings.

Bonus is that everything you see here is available at Target – even the Tillamook cheese. Find it at a Target near you.
Pretty Cheese Boards

This is the one I have + that’s shown in these pics :).
How to Build A Brunch Cheese Board
I built my holiday brunch cheese board using Tillamook Medium Cheddar Chunk and a variety of pastries, fresh fruits, and spreads. Here are some ideas for cheeseboard toppings:
- Tillamook Medium Cheddar Chunk – we LOVE Tillamook Cheddar because it’s the perfect amount of sharp. Sometimes sharp cheddar can be too much for kids but my kids LOVE this cheese! Bonus that it’s made from milk from cows not treated with artificial growth hormones.
- Fresh Fruits – I honestly stuck to red & green to fit with the holiday theme but you can definitely branch out a bit, too!
- strawberries
- blueberries
- blackberries
- kiwi
- red grapes
- green grapes
- sliced red apples
- sliced green apples
- sliced pear
- banana
- Carbs & Pastries
- granola
- mini croissants
- mini donuts
- specialty breads
- cereal
- mini pancakes
- mini waffles
- Toppings & Spreads
- butter – LOVING Tillamook Extra Creamy Butter
- jam
- syrup
- honey
- yogurt

As far as technique goes… I’m a ‘pile it on’ kind of gal! I use a few small bowls to separate liquids and smaller items but other than that, I mix items of different colors and textures of items and guests – or my kids 😉 – are welcome to grab whatever they want.

The hardest part is prepping the fruit and that’s pretty simple, just time-consuming, so if you want to save time day-of, just prep your fruit the night before and have it ready to pour onto the board.

I slice my cheese on a diagonal, just for a little different visual interest, but it all tastes good no matter the presentation.

If you like this recipe, pin it!


Susan says
If you prep the fruit the night before; how did you keep the apples from browning? I’ve tried lemon juice it doesn’t seem to work